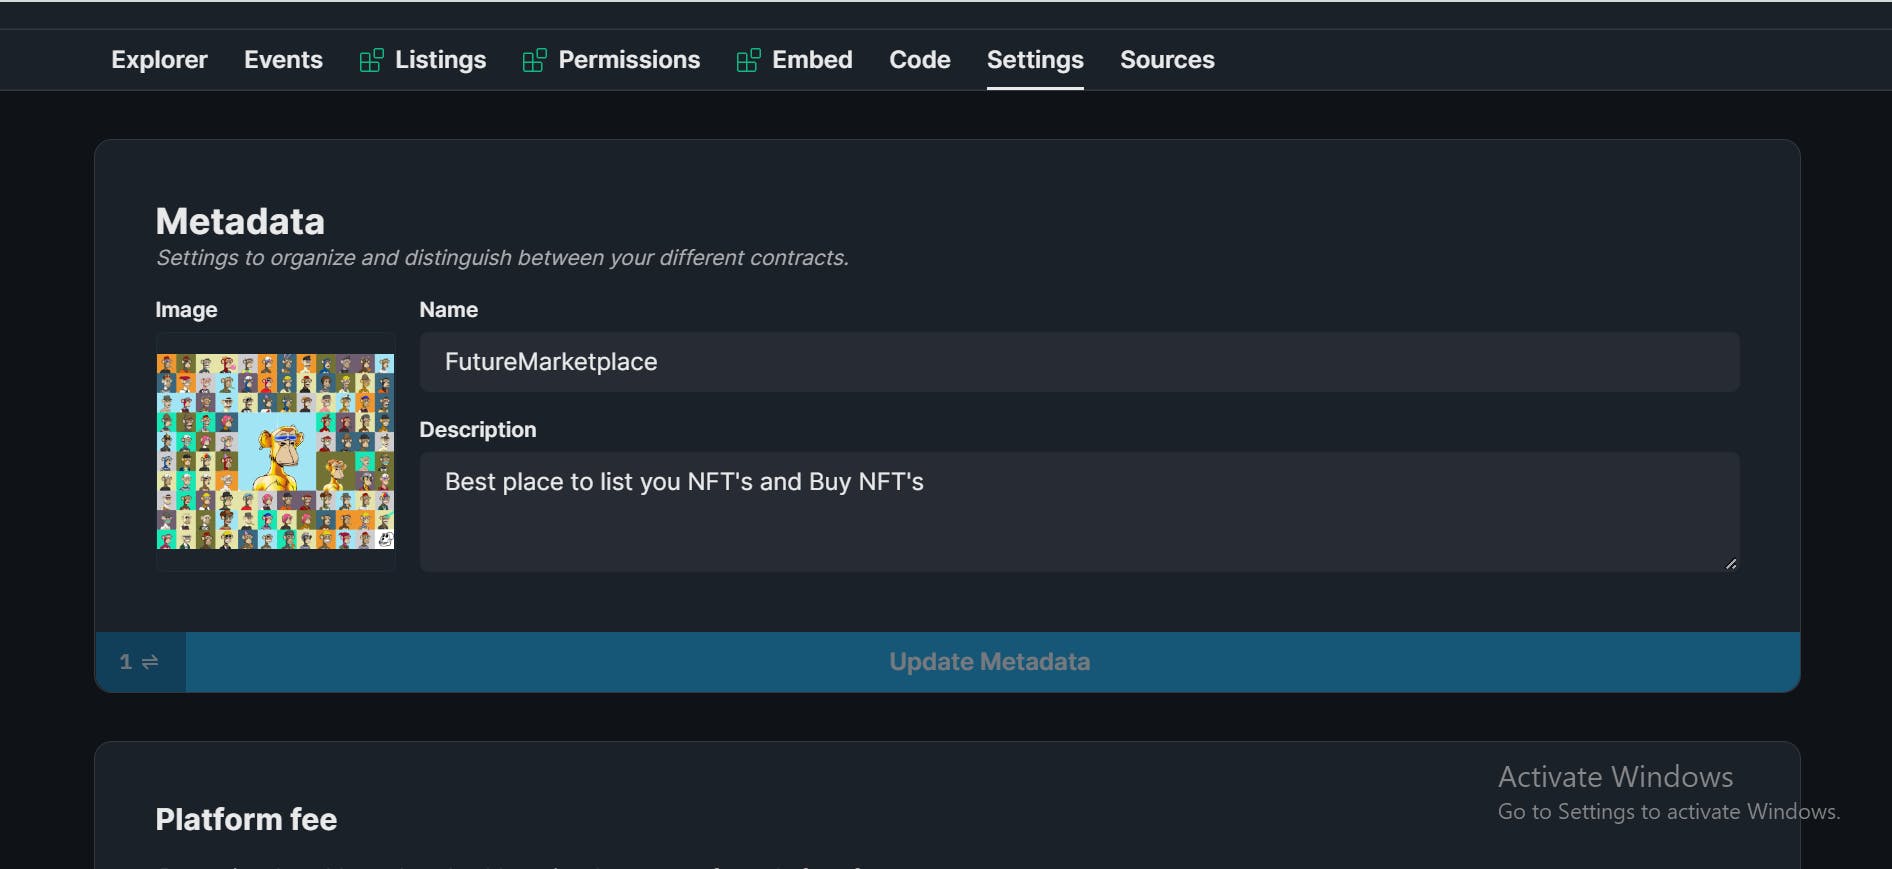
ThirdWeb's New Explore feature
Little About Me
Hello everyone, I am Aamir. I am a student and a junior web developer. Today I am here to share with you my experience on ThirdWeb's New Explore feature. This is my first blog post so it is going to be a little messy 😅. So please bear with me.
Tables of Content
- What is ThirdWeb?
- New Experience Feature
- Deploying our own pre-build contract
- Exploring project dashboard
- View on new feature
What is ThirdWeb?
 ThirdWeb is a development framework that allows you to build web3 functionality into your applications.
ThirdWeb provide you with workflow's to speed up your development like Pre-built Smart-Contracts, Web3 sdk, Ability to deploy custom smart contracts and many more. One of the feature we are going to have a look at in this post.
They also provide you personal Dashboard to manage your deployed smart contracts and edit other information.
You can go to their website www.thirdweb.com to see more feature that has been provided by ThirdWeb.
New Experience Feature
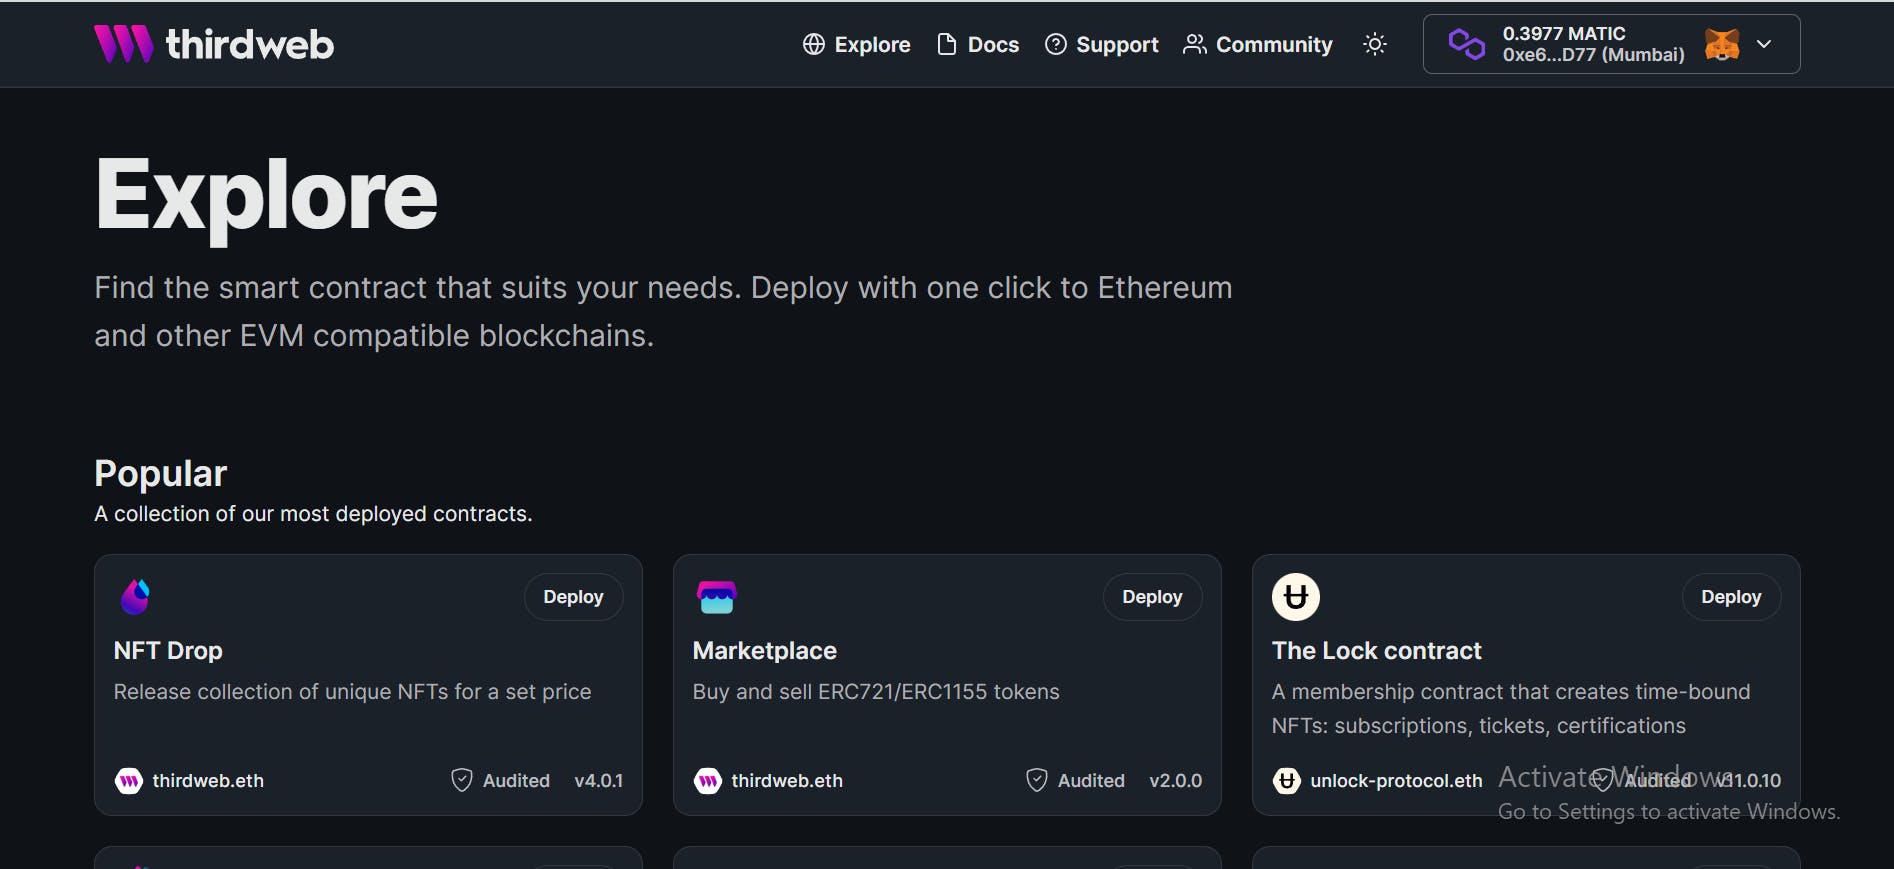
No need to setup anything locally.
Let's have a look at an example how will you do that.
Deploying our own pre-build contract
Step 1: First visit: ThirdWeb Experience Page
Step 2: Connect with your wallet. if you don't have any you can install this wallet browser extension Metamask
There are a lot's of contract that you can use. I am going to use Marketplace contract.
Reason to choose this project
- Most common project that almost everybody is familiar with.
- You might have built it already if you are a web3 developer.
- We can show our NFT's to world and can also make some money 🤑
- Gives a good explanation how everything works in Web3 environment.
- Web3 is still new for a lot of people and most of the people are only familiar with NFT's only.
- But apart from all of the reasons mentioned above, this is the project that I have also built with code and I know how complex things can go. Ok let's move to step 3
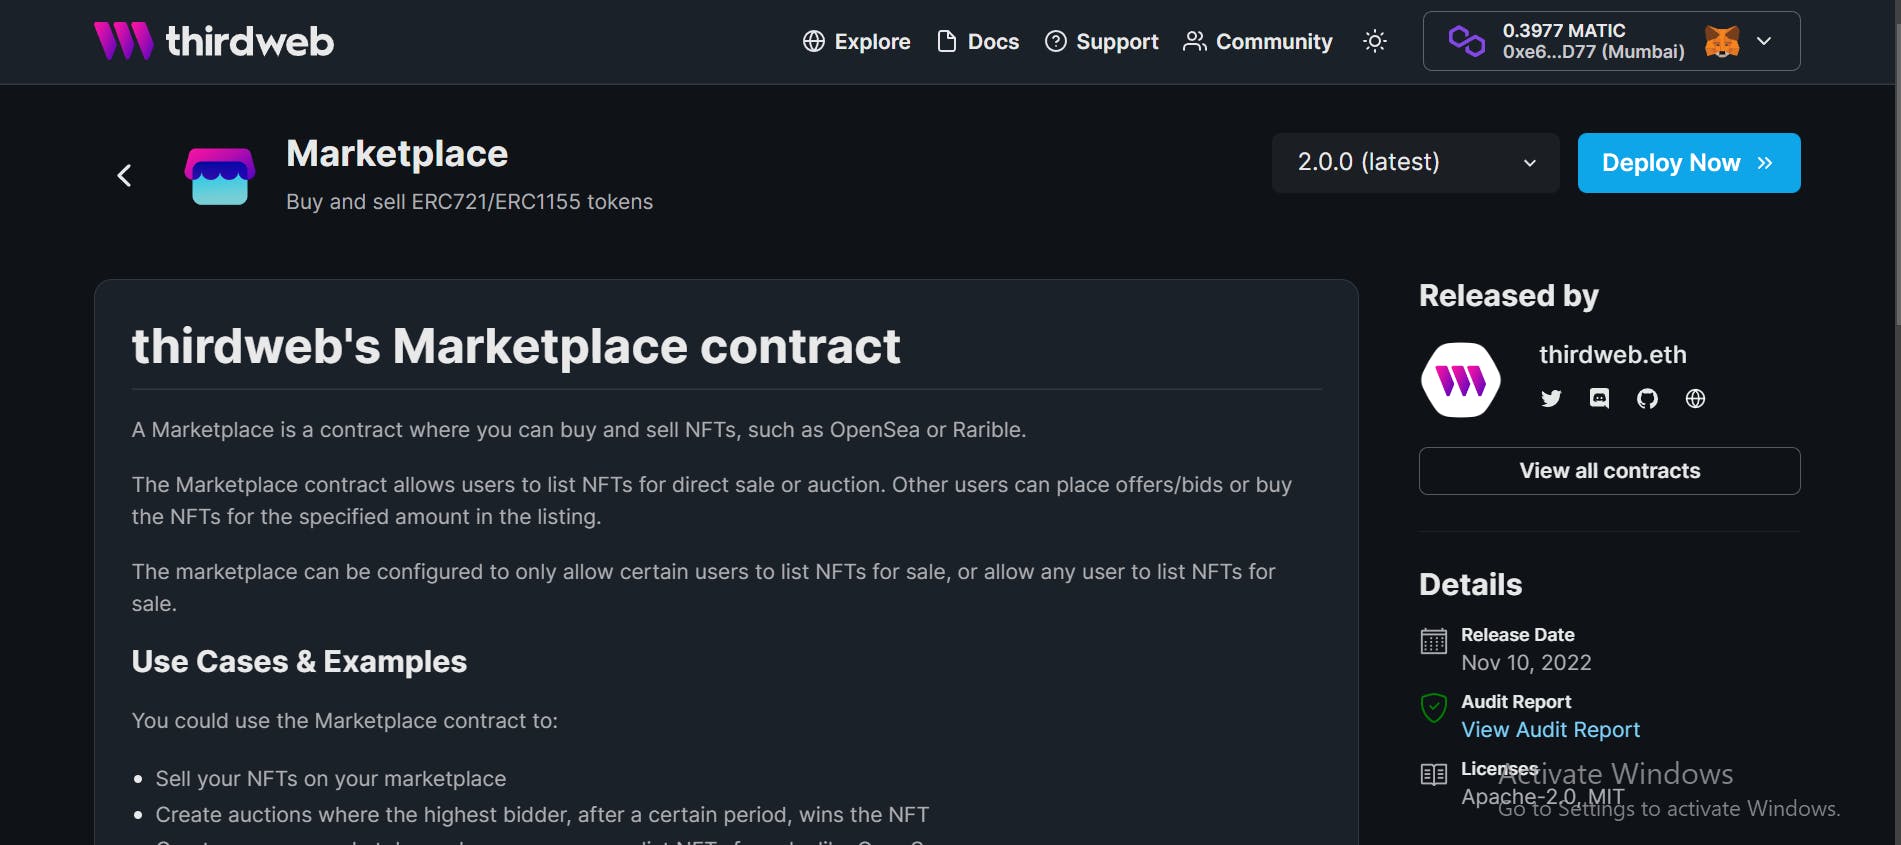
Step 3: After clicking on the Marketplace project the following page will open
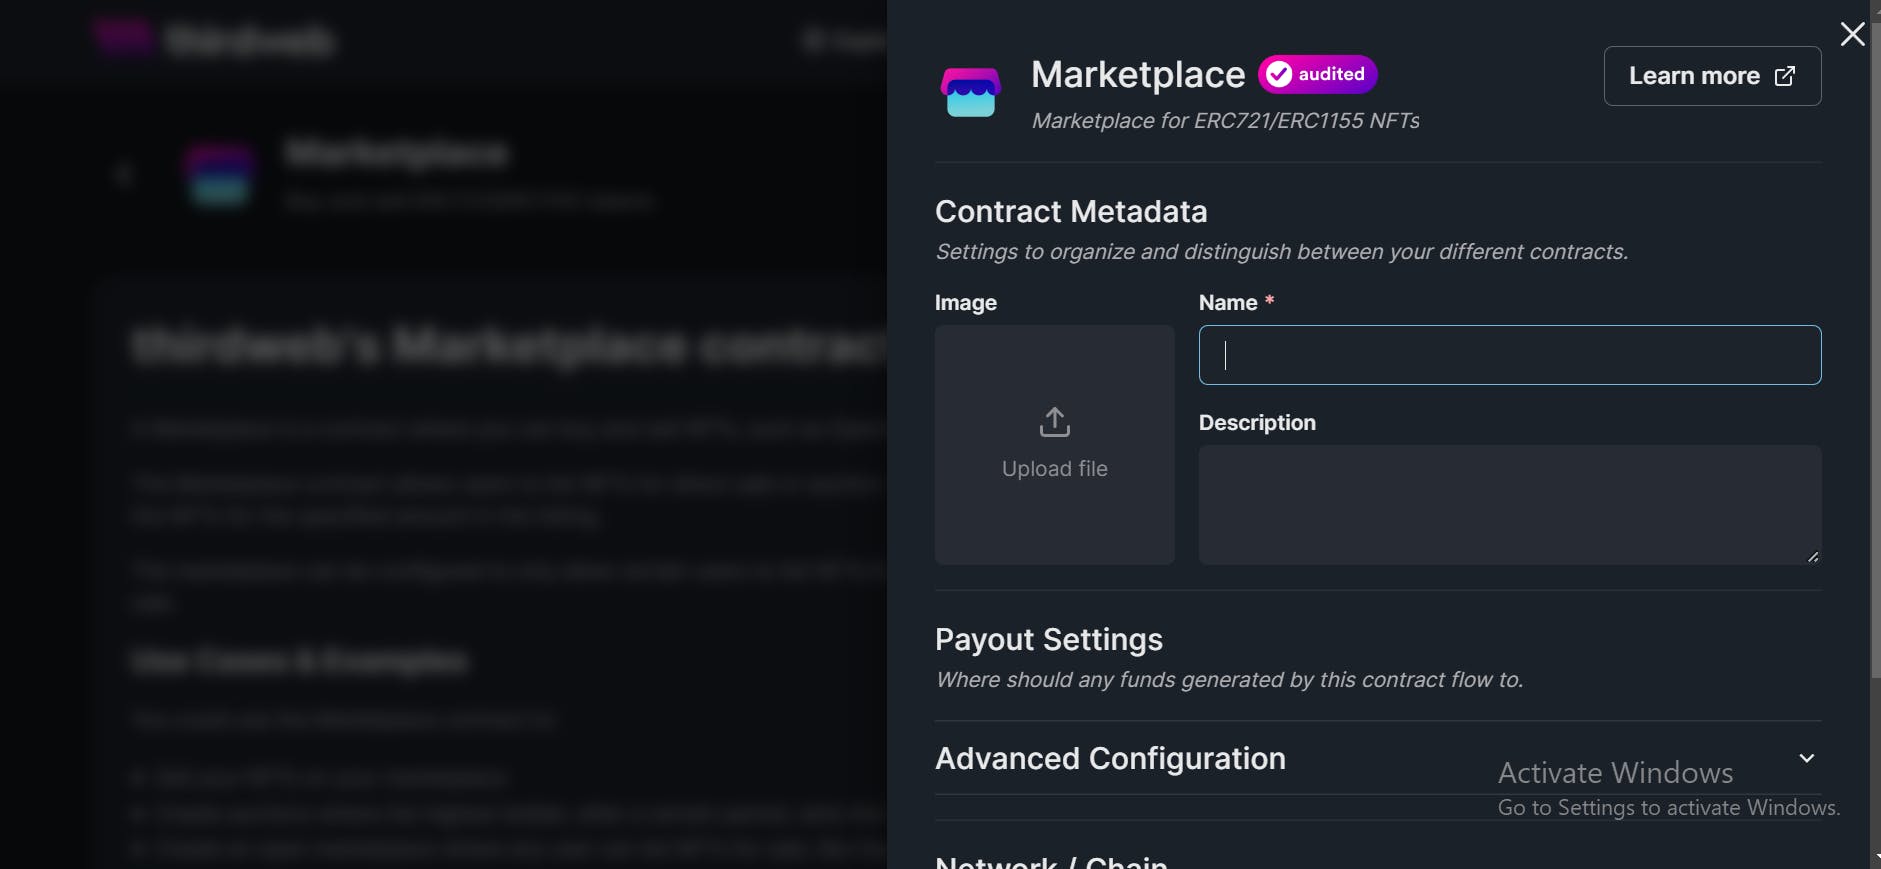
Step 4: Now click on the deploy button. You will see a new Popup/options field will open.
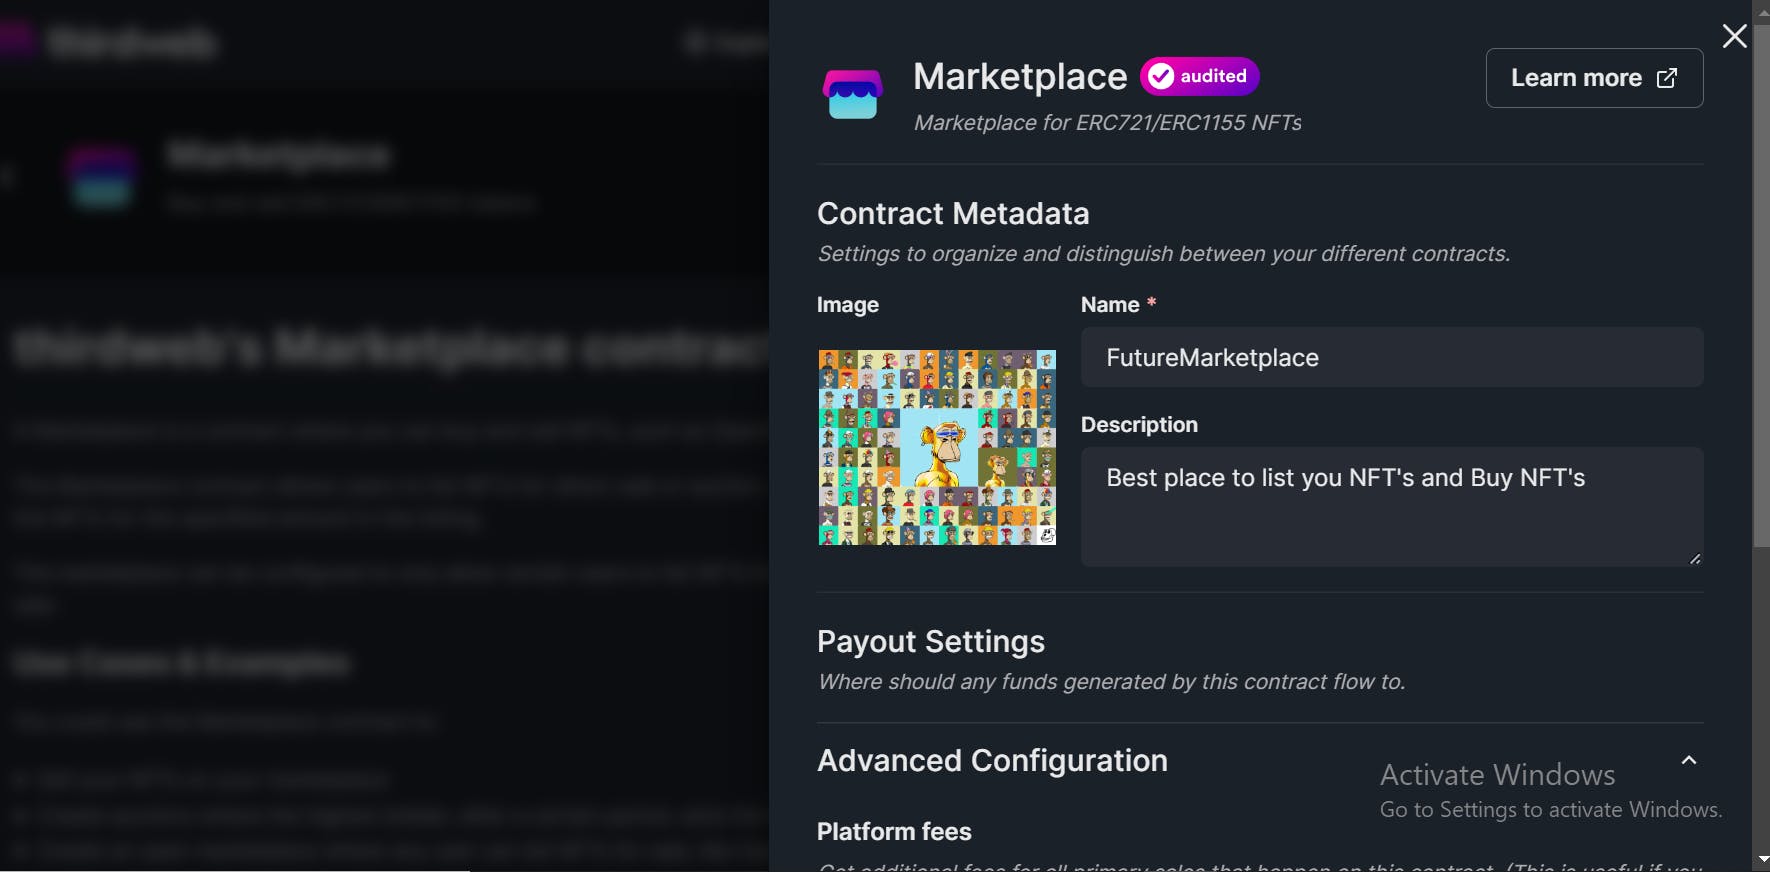
Step 5: Provide the data in fields as you want. I am going to give the following:
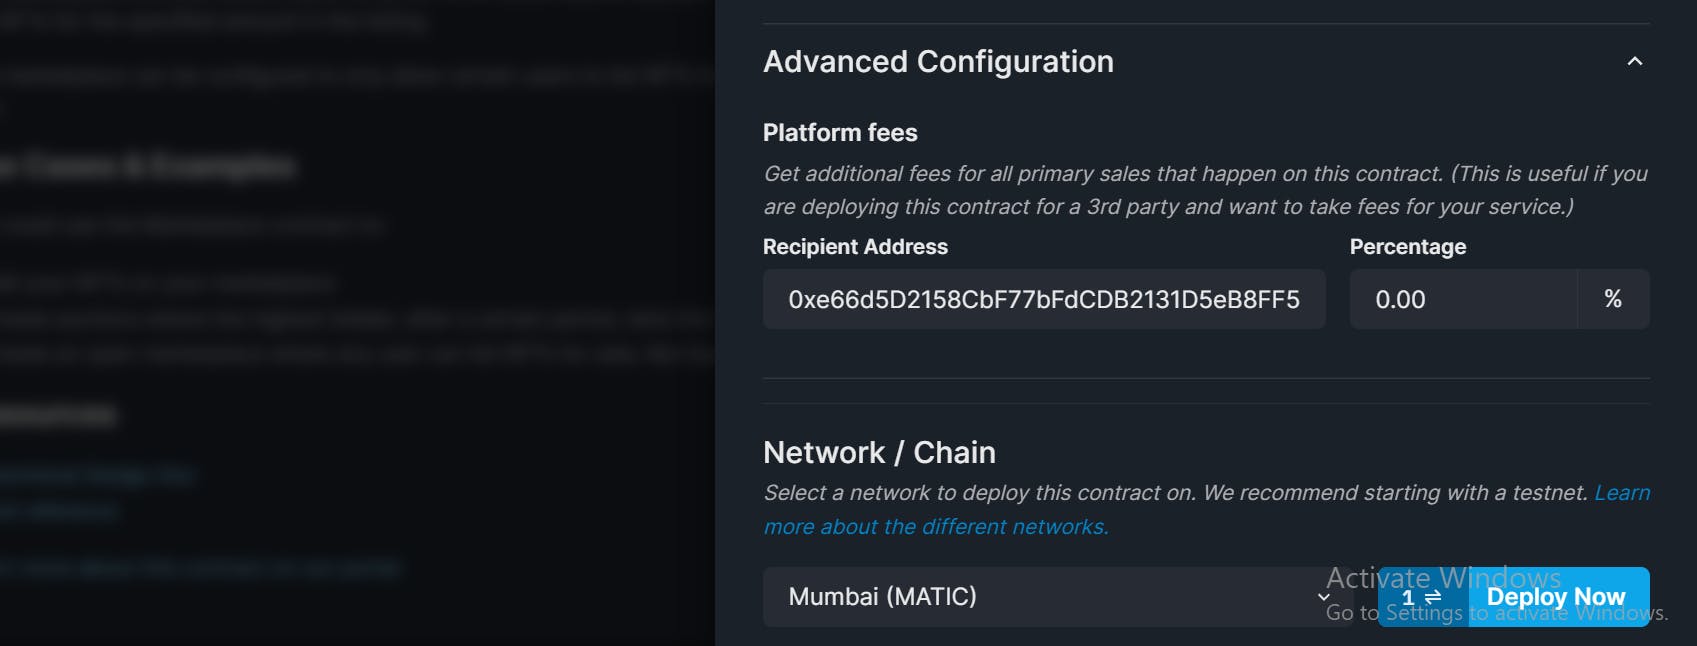
You also have advance configuration option. Get additional fees for all primary sales that happen on this contract. (This is useful if you are deploying this contract for a 3rd party and want to take fees for your service.)
Step 6: After that select the Chain on which you want to deploy the smart contract I am selecting mumbai polygon, you can choose any chain of your choice.

Step 7: Now click on the deploy button and deploy the contract. You will see metamask popup like this
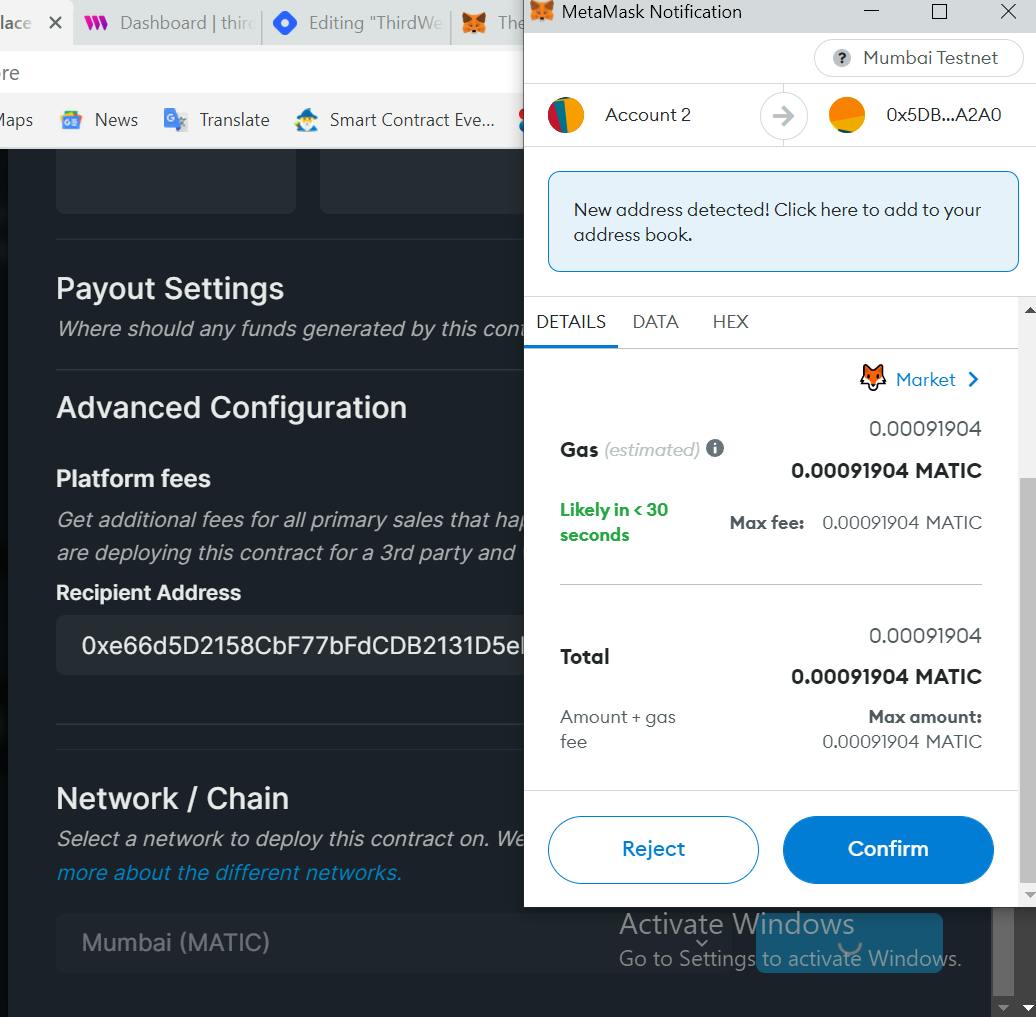
Just press on confirm and it will be deployed.
And This is it!
You have deployed your own smart contracts in just 1 or 2 minutes approx.
Isn't it Amazing. I am personally very amazed with the kind of functionality it provides.
Exploring project dashboard
After deployment, you will be redirected to your project dashboard
Here you can also do a lot of things with your contract and your contract settings.
Let's have a look at some of them
Explore tab
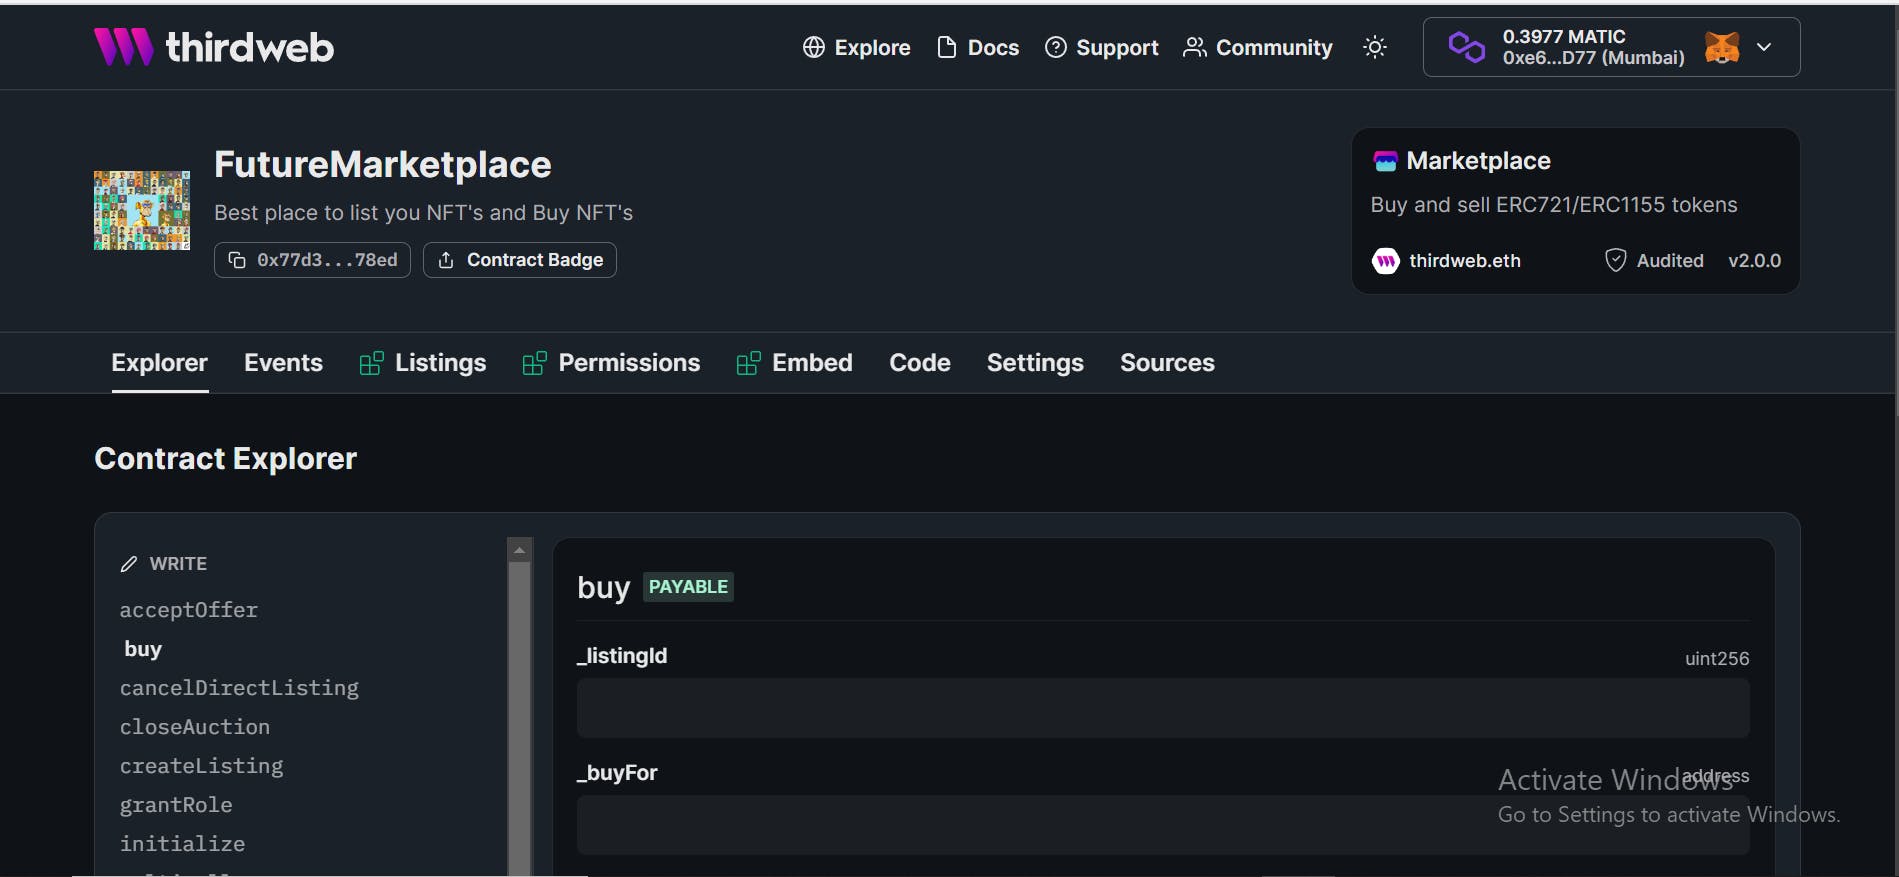
here you can explore all the functionality that has been provide by your smart contract.
Like if I want to buy one of the listed NFT on the smart contract I can go to buy option is sidebar
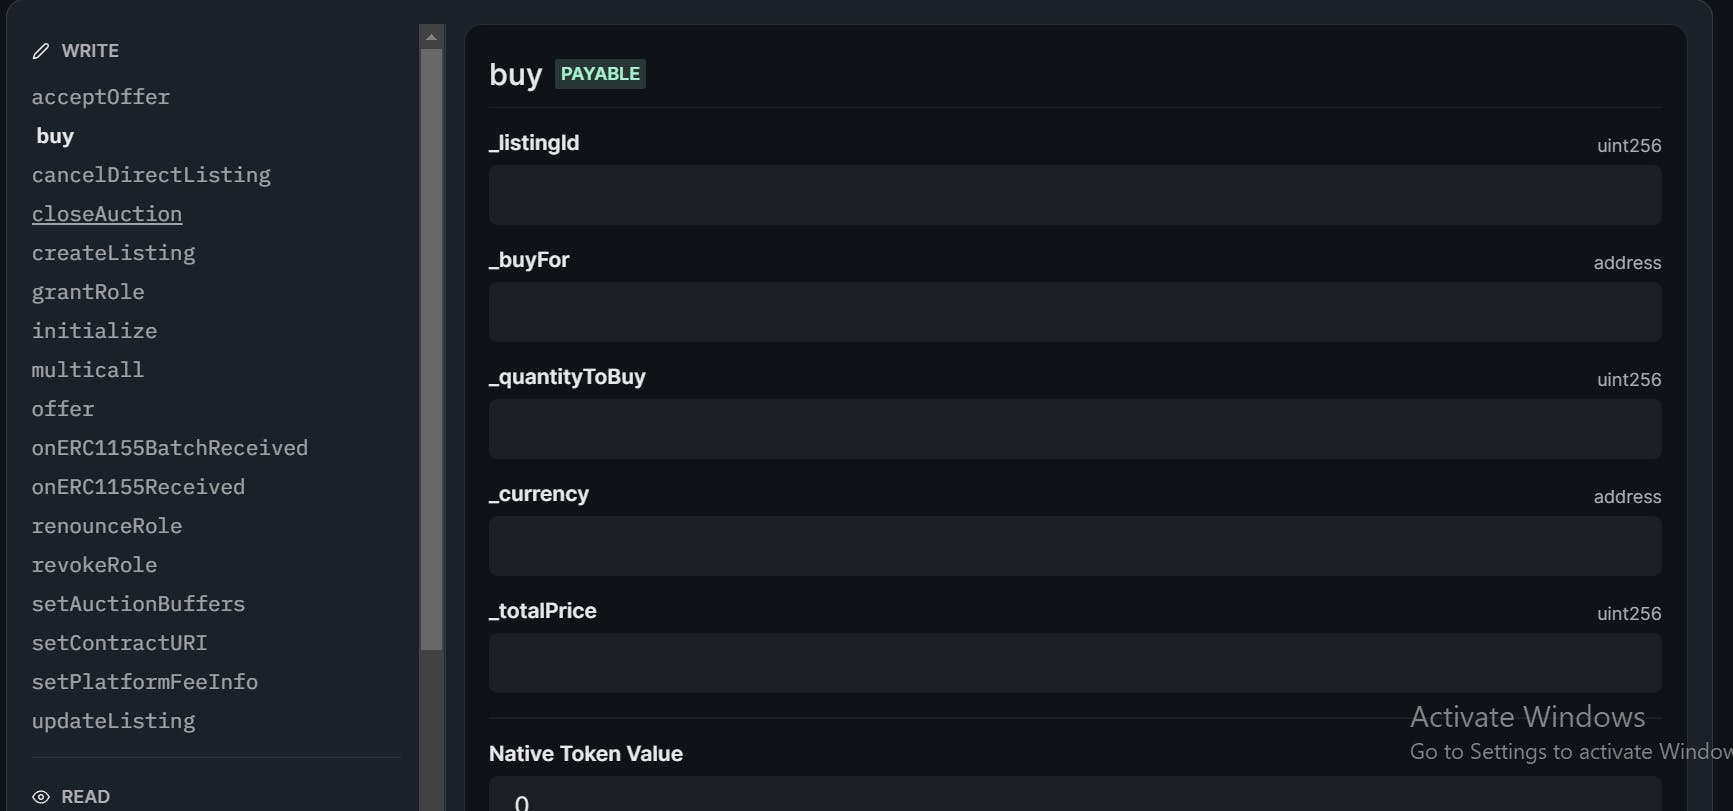
And fill all my of the options correctly for the NFT that I want to buy. And after that I can press on the execute button to perform the operation.
There are options for both reading and writing on the smart contracts.
Events tab
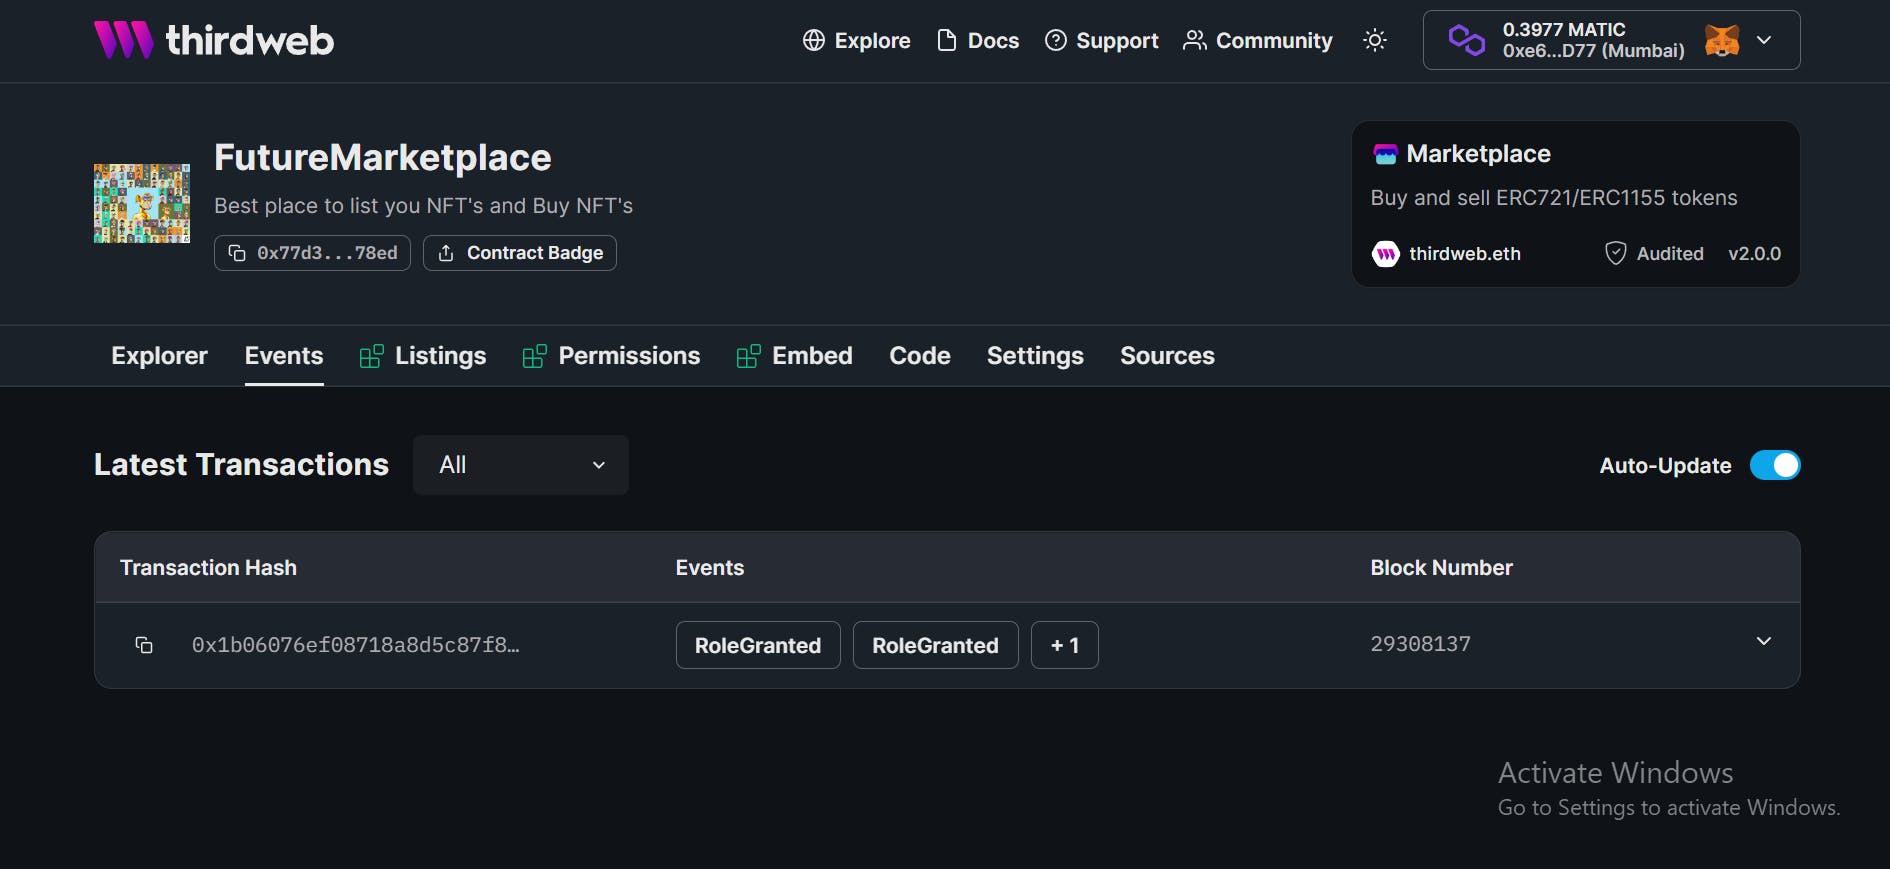
On this tab you can easily find all of the events that are emitted by your smart contract. We have only one event that is grant role.
Embed tab
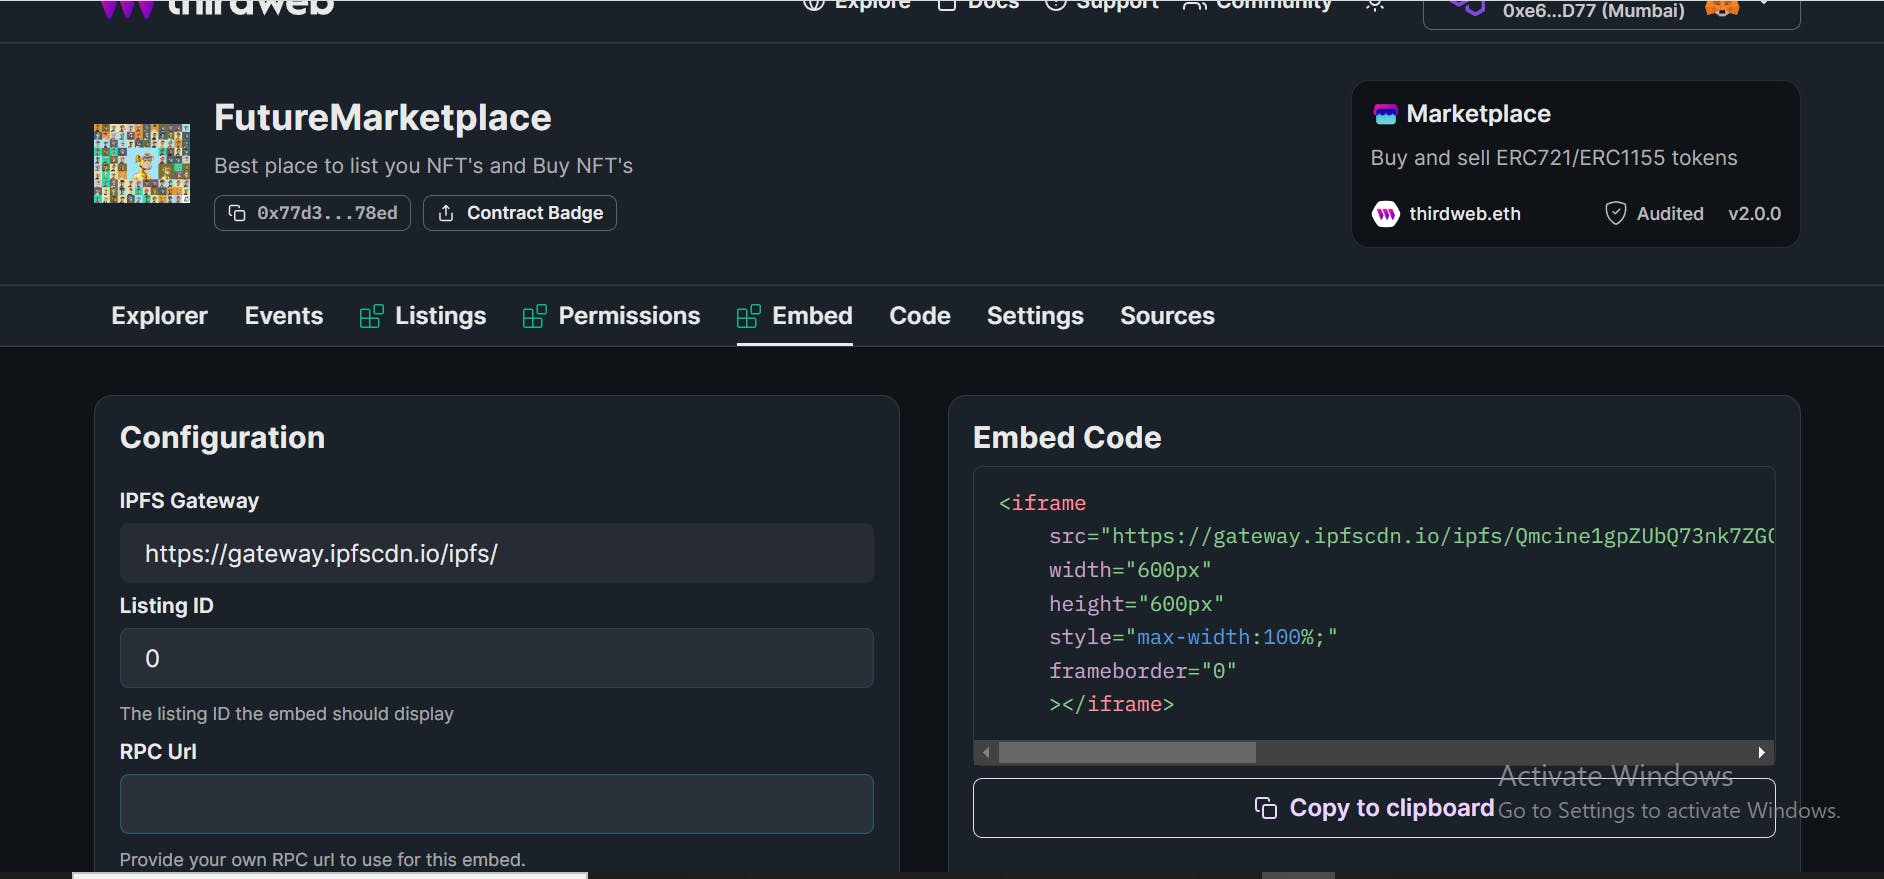
You can see an embed code for html page in above image. But what actually is embed. Hmm...
Let's see this example live with html code. Let's copy the code and paste it in the html. The result we get look something like this 👇
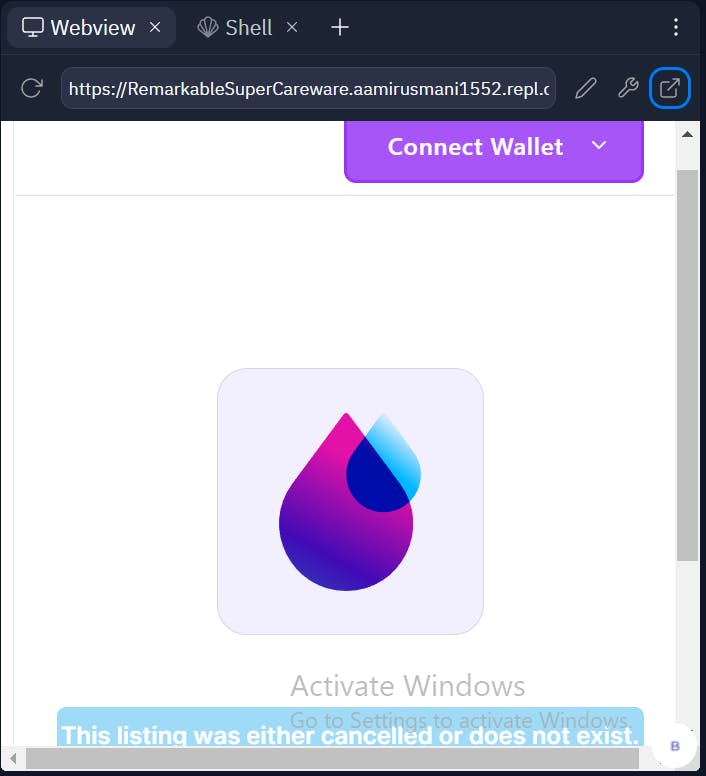
What! we have our project's frontend🤯.
You can connect to your wallet and see all of the NFT's that are listed on the NFT Marketplace.
That is really amazing.
Code Tab
One last thing that I want to talk about is this 👇 code tab
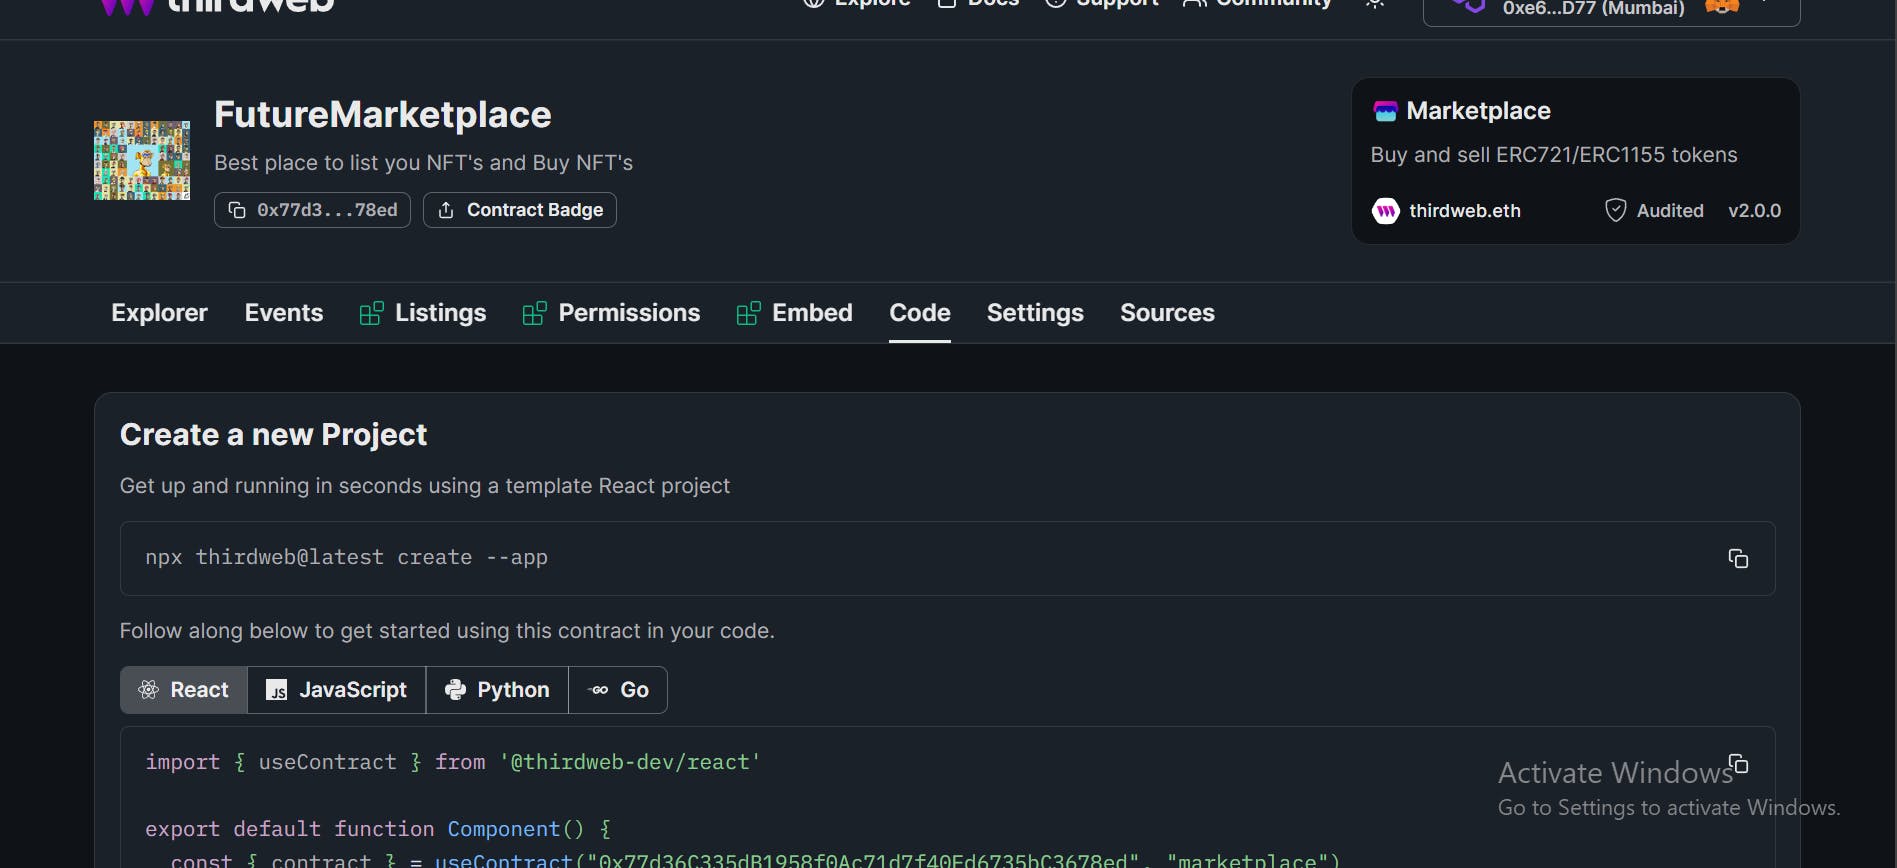
This tab is very helpful for the developers who wants to create their application with the help of this smart contract. Yes you heard it right! No need to go on google and look for resources on bunch of pages. They have got you covered.
You can find commands and code like this.
code to use smart contract with thridWeb and React.
import { useContract } from '@thirdweb-dev/react'

export default function Component() {
  const { contract } = useContract("0x77d36C335dB1958f0Ac71d7f40Ed6735bC3678ed", "marketplace")

  // Now you can use the marketplace contract in the rest of the component
}
The code is available for react, go, python and JavaScript.
Views on New Feature
Things that are amazing:
- Great UI
- Great Features
- Not need to go on block explorers for checking data of the contracts
- And all of the features that I mentioned in the post.
Things that require changes:
- Nothing, it's already amazing.
There might be things that some of you don't like but, I think everything is as perfect as it should be. The thing that I can do almost anything without leaving the website forced me to love it.
This is the End!
Thank you if you bear me and my broken English until now 🙏


